To really get a handle on converting an XLS file to a CSV, it's helpful to first understand why you'd even bother. It might seem like a small technical step, but this conversion is often the key to making your data usable across different platforms, shrinking file sizes, and getting it ready for import into all sorts of software.
Why Bother Converting XLS to CSV?
Before we jump into the "how," let's unpack the practical reasons for this switch. An XLS file is Excel's native format. It's a powerhouse, holding not just your raw data but also all the formatting, fancy formulas, and charts you've created. But that complexity can become a real headache when all you need to do is share the basic data with another application.
Enter the CSV, or Comma-Separated Values file. It's the complete opposite—a simple, plain-text format. It strips away all the extras, leaving just the raw data organized in a clean, universally understood structure. And honestly, that simplicity is its biggest advantage.
XLS vs CSV Key Differences at a Glance
Here’s a quick comparison to help you understand the core differences between XLS and CSV file formats and why a conversion is often necessary.
| Feature | XLS (Excel Spreadsheet) | CSV (Comma-Separated Values) |
|---|---|---|
| Format | Proprietary binary format | Plain text |
| Compatibility | Primarily Microsoft Excel | Universally supported by almost all applications |
| Data Storage | Stores data, formulas, charts, and formatting | Stores only raw, tabular data |
| File Size | Larger due to storing extra information | Smaller and more lightweight |
| Use Case | Complex data analysis and visualization within Excel | Data exchange, importing/exporting, and simple storage |
This table makes it clear: when you need your data to play nice with other software, CSV is the way to go.
The Power of Universal Compatibility
Think about the tools you use every day. Your CRM, like HubSpot, or your company's database software probably doesn't speak Excel's language. When you need to upload a fresh list of leads, a batch of financial transactions, or new product inventory, those systems almost always ask for a CSV file.
The CSV format acts like a universal translator, making sure your data can move smoothly from one tool to another without getting garbled along the way.
This infographic breaks down the core reasons—compatibility, efficiency, and broad support—that have made CSV the undisputed champion for data exchange.
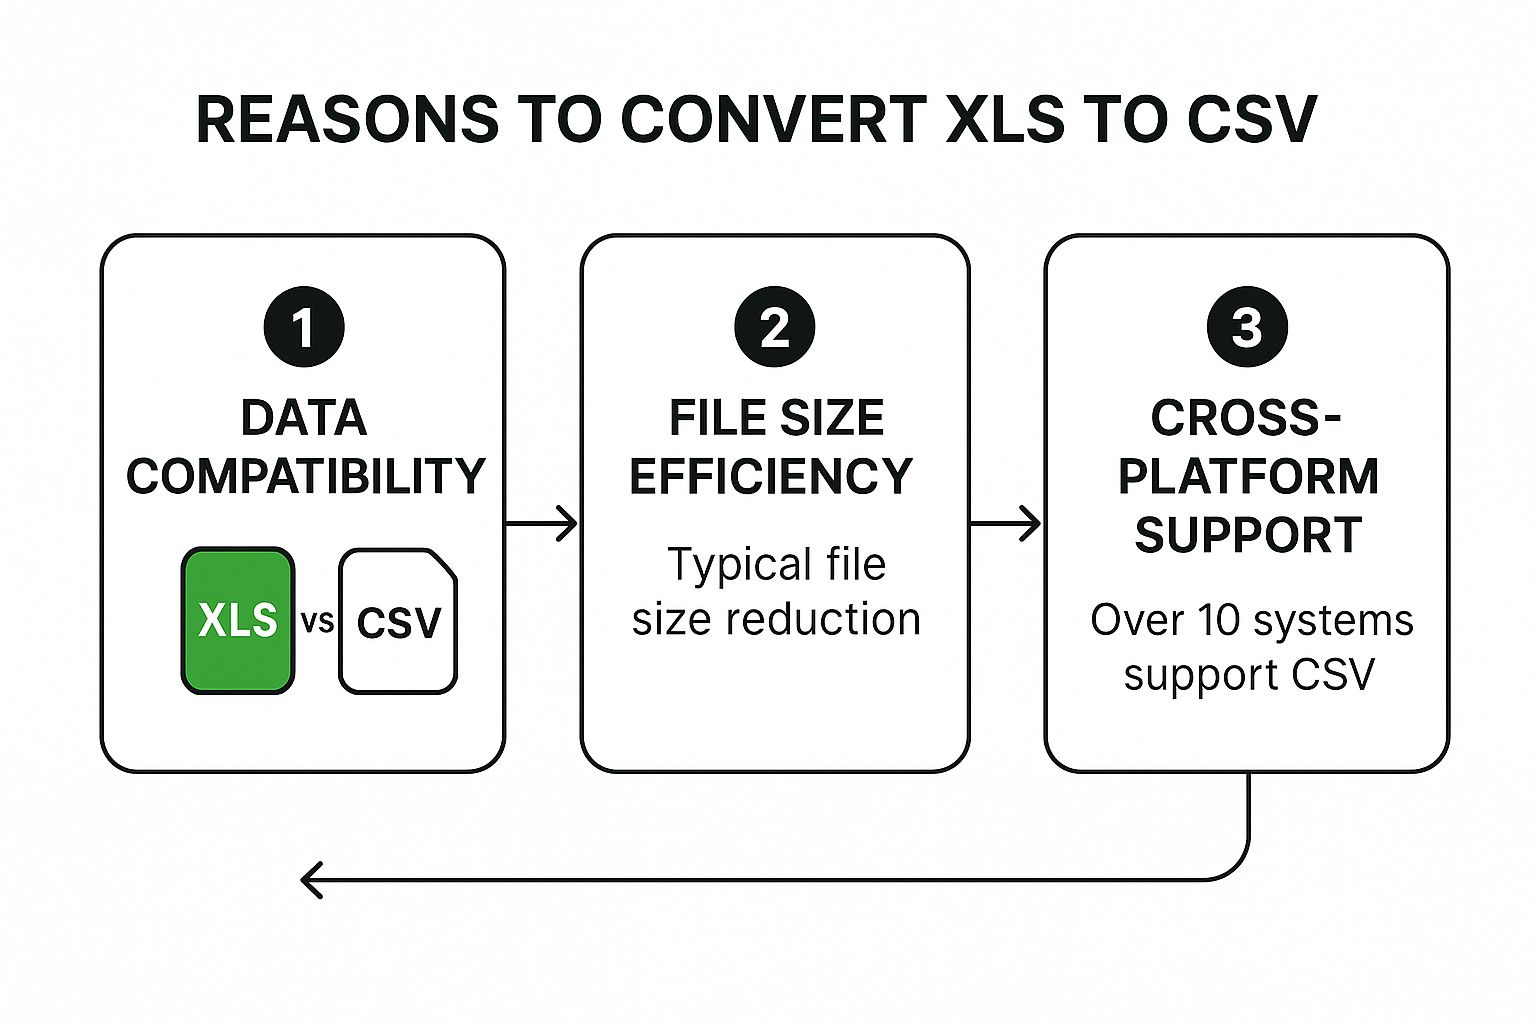
As you can see, the shift to CSV is all about its widespread acceptance. It's a reliable standard you can count on.
Taming Large Datasets
Performance is another huge reason to make the switch, especially when you're wrestling with massive datasets. Excel is fantastic, but it can start to choke on huge files. It has a hard limit of 1,048,576 rows, and it gets sluggish long before that.
Because they're just plain text, CSV files are typically much smaller and can be processed far more efficiently by tools designed for big data. For any business that depends on powerful financial data extraction tools, managing large files without performance hits is non-negotiable. If your XLS file is creeping up on Excel’s limits, converting it to a CSV is often the smartest first move before you try to analyze it.
Converting Files in Microsoft Excel
If you already have Microsoft Excel on your computer, you've got the most direct tool for turning an XLS file into a CSV. There's no need to hunt for online converters or special software—the functionality is built right in. The trick is just knowing which buttons to press to avoid some common pitfalls.
First thing's first: open up that XLS file.
Before you rush to save, take a second to look over your spreadsheet. A CSV file is a simple, flat file, which means it can only hold the data from one worksheet at a time. If your Excel workbook has multiple tabs, you'll need to save each one as its own separate CSV. Make sure you've clicked on the specific sheet you want to convert before moving on.
This is the screen where you'll tell Excel what kind of file you want to create.
Choosing the Right CSV Format
With your worksheet selected, head up to File > Save As. This is where the magic happens. Look for the "Save as type" dropdown menu—clicking it reveals a list of different file formats, and you'll probably see a few CSV options.
This next choice is critical. For the best results and widest compatibility, you’ll want to select CSV UTF-8 (Comma delimited). Why does this matter so much? Because the UTF-8 format correctly handles a wide range of characters that older formats can't.
Choose CSV UTF-8 if your data contains:
- Accented letters or characters from other languages (like ñ, é, or ü)
- Special symbols like ©, ™, or ®
- Emojis or other modern characters
Picking the wrong one can lead to garbled text and major headaches when you try to import your file into another system. Once you’ve selected the right format and given your file a name, hit Save.
A Quick Warning from Excel
Don't be alarmed if Excel throws up a warning pop-up. It will probably say something about features being lost if you save as a CSV. This is perfectly normal. Excel is just reminding you that things like formulas, fancy formatting (colors, bold text), and multiple sheets don't exist in the simple world of CSV. Just click "Yes" to confirm and finish the conversion.
This method works like a charm for most day-to-day conversions. If you run into any quirks or want to explore more advanced options, our guide on saving Excel as CSV goes into even more detail.
Using Google Sheets for Conversions
Don't have a Microsoft Excel subscription? No problem. Google Sheets is a fantastic free, cloud-based alternative that gets the job done just as well. I often recommend this method to people who work on multiple devices or need to quickly convert a file without being tied to a specific computer.
The whole process is incredibly simple. Instead of opening a file locally, you just upload your XLS file straight into your Google Drive. A quick drag-and-drop is all it takes to get your file ready for conversion.
From Upload to Download
Once your XLS file is sitting in Google Drive, double-click it. Google is smart enough to open it directly in Google Sheets, handling the initial conversion for you behind the scenes. You'll see all your rows and columns laid out perfectly, just like they were in the original Excel file.
Getting the CSV from there is just a few clicks away:
- Head up to the File menu at the top.
- Hover your mouse over Download.
- Choose Comma Separated Values (.csv) from the dropdown list.
And that's it. Google Sheets will immediately process the sheet you're looking at and download a clean CSV file to your computer.
This is what the Google Sheets interface looks like—clean, familiar, and easy to navigate.
Anyone who has used a spreadsheet program before will feel right at home with its grid and menu system.
Key Advantage: Collaboration and Accessibility
The real magic of using Google Sheets is its cloud-first approach. You can easily share the spreadsheet with a teammate to double-check the data before you export the CSV. That kind of real-time collaboration is something desktop software just can't match.
Handling Multi-Sheet Workbooks
One crucial thing to remember: just like Excel, Google Sheets only converts the currently active worksheet when you download a CSV. If your original XLS file has multiple tabs, you’ll need to click into each sheet one by one and repeat the download process. It’s a small extra step, but it ensures you capture all the data you need from the workbook.
Exploring Online Tools and Automation
When you're in a pinch and don't have Excel or Google Sheets on hand, an online converter can feel like a lifesaver. You just upload your XLS, click a button, and get your CSV. For a quick, one-off conversion, they're incredibly handy.
But there's a big catch you need to think about: data privacy. Before you drag and drop a file containing sensitive company financials or personal data, you have to ask yourself where that information is going. A reputable service will be upfront about its privacy policy.

Look for explicit statements about how long they keep your files. The best ones delete your data from their servers within a few hours. Also, make sure the site uses SSL encryption (look for the padlock in your browser's address bar) to protect your data during transfer. If you can’t find this info easily, it’s best to just find another tool.
Scaling Up With Automation
For many businesses, file conversion isn't a one-and-done task. Think about a finance team that gets daily XLS transaction reports that need to be fed into their accounting software. Or an HR department that gets timesheets from different teams every single week. Converting these files by hand is a recipe for boredom and, worse, human error.
This is where automation really shines. You can set up workflows that watch a specific folder for new XLS files, convert them to CSV automatically, and move them to where they need to go. It’s a completely hands-off process that frees up valuable time and keeps your data consistent. If your workflow involves more than just spreadsheets, our guide on how to use a PDF to CSV converter can help streamline those processes, too.
Automating these kinds of repetitive, high-volume tasks is becoming standard practice in industries like finance and IT. There are even pre-built software bots designed to convert Microsoft Excel files to CSV with almost no human input, highlighting a major shift toward automating data management.
Pro Tip for Automation
Start small. Pick one repetitive conversion task you do all the time and automate that first. Once you're sure it’s running smoothly, you can build on it. Maybe add steps to rename files based on the current date or sort them into different folders after conversion.
Common Conversion Problems and Fixes
Knowing how to save an XLS file as a CSV is one thing, but the real test begins when you open the new file and the data is a complete mess. I’ve seen it happen countless times. Fortunately, most of these conversion quirks are well-known and have pretty simple fixes.
Let's start with a classic: your text looks jumbled and is filled with strange symbols. This is almost always an encoding issue. If you just hit "Save As > CSV," you might not be using the right format. Special characters like accented letters (é) or symbols (©) get garbled. The trick is to specifically choose "CSV UTF-8" when you save in Excel to ensure everything comes through cleanly.
Another frequent headache is seeing data spilling into the wrong columns. This happens when the delimiter—the character that separates your columns, usually a comma—also shows up inside your actual data. Think of a product description like "Shirts, Blue, and Large." The extra commas will throw off the entire row, breaking it into too many columns.
Preserving Leading Zeros
The most infamous problem, by far, is the disappearing leading zero. Excel loves to "help" by turning numbers like "01234" into "1234," which is a nightmare for things like zip codes, employee IDs, or phone numbers.
Pro Tip: The only reliable way to stop this is to act before you convert. Go back to your original XLS file, select the entire column, and change its format to 'Text'. This forces Excel to see "01234" as a string of characters, not a number it needs to fix.
You'll often find yourself going back to the original XLS spreadsheet to make these adjustments before trying the export again. For a more detailed look at handling this kind of data, our guide on working with a CSV file in Excel is a great resource.
If you're still running into trouble, sometimes an online converter gives you more control. Many of them have advanced options to let you specify the exact delimiter or encoding you need, which can be a lifesaver. Just be smart about it—only use trusted services with solid security policies, especially if your data is sensitive. For more on this, check out these insights on choosing a secure online converter on expresspigeon.com.
Common Questions Answered
Even with the best instructions, a few questions always seem to come up. Let's tackle some of the most common ones I hear about moving from XLS to CSV so you can get the job done right.
What Happens to My Formulas and Formatting?
Yes, you will lose them, and this is probably the most important thing to understand about the CSV format. A CSV file is just plain text; it’s all about the raw data, not the presentation.
When you convert, here’s what gets stripped away:
- Formulas: Any formula, like
=SUM(A1:A10), will be replaced by its final calculated value (e.g., 150). - Styling: All your hard work on cell colors, bold text, and font choices will disappear.
- Visuals: Charts, graphs, and images can't exist in a CSV, so they're gone.
- Multiple Sheets: A CSV file is a single flat file. Only the data from your currently active worksheet will be saved.
You'll see a warning pop up from Excel about this potential "loss of features." Don't worry—that's a totally normal and expected part of the process.
Which CSV Format Is the Best to Use?
This one's easy. For virtually any modern use case, you should choose CSV UTF-8 (Comma delimited).
The reason is all about compatibility. UTF-8 is the universal standard for character encoding, which means it can handle everything from international characters (like é or ü) and special symbols (©, ™) to even the odd emoji. Using older formats is just asking for trouble, as you'll often end up with garbled, unreadable text if your data isn't plain English.
Trust me on this: sticking with UTF-8 from the start is a tiny step that prevents massive data-cleaning headaches down the road.
How Do I Convert a Whole Batch of XLS Files?
If you're staring down a folder full of XLS files, converting them one-by-one is a non-starter. It's tedious and a waste of your time. Luckily, you have better options for batch conversions.
Many online converter tools are built for this and let you upload and process an entire folder at once. For those with a bit more technical skill, a simple Python script can loop through your files and convert them automatically. In a more corporate setting, this is where Robotic Process Automation (RPA) tools shine, creating automated workflows for recurring conversion tasks.
Trying to pull data from bank statements? Bank Statement Convert PDF offers powerful software that instantly turns your bank statement PDFs into clean, organized Excel spreadsheets. You can save yourself hours of manual data entry. Find out more and get started at https://bankstatementconvertpdf.com.