
When it comes to getting your financial data into QuickBooks, you have two main routes: you can either connect your bank for an automatic, live feed or you can manually upload a file of your transactions. While the automatic sync is fantastic for day-to-day bookkeeping, knowing how to do a manual import is a non-negotiable skill. You'll need it for everything from cleaning up old records to working with banks that don't play nice with direct connections.
Your Guide to Getting Transactions Into QuickBooks

Figuring out the best way to get your bank data into the system is the first real step toward keeping clean books. The right method really depends on your bank's tech, what you're trying to accomplish, and how far back your transactions go.
The Two Core Import Methods
At its heart, you're either letting QuickBooks pull the data in automatically through bank feeds or you're pushing the data in yourself with a manual file upload.
Automation has definitely become the standard. It's no surprise that over 78% of QuickBooks Online users in the US, Canada, and the UK now have their bank accounts connected for these automatic imports. It just makes life easier. If you want to dive deeper into these trends, check out this great report on importing bank transactions.
Still, every seasoned bookkeeper knows that manual uploads have their place. You’ll find yourself needing to do it when:
- Your bank or credit union doesn't offer a direct connection to QuickBooks.
- You're trying to import history that's older than the 90-day window most bank feeds give you.
- You're stuck with PDF statements that need to be converted first, which is where specialized financial data extraction software comes in handy.
The smartest import strategy is often a hybrid one. I use automatic feeds for all the current stuff and lean on manual uploads to fill in historical gaps or handle those one-off, tricky accounts.
To help you decide which path to take, here's a quick comparison of the main methods.
QuickBooks Transaction Import Methods Compared
| Import Method | Best For | Speed & Effort | Common File Formats |
|---|---|---|---|
| Direct Bank Feed | Daily, ongoing transaction management | Low effort, automatic after setup | N/A (Direct API connection) |
| Manual File Upload | Historical data, unsupported banks | Medium effort, requires file prep | QBO, CSV, OFX, QFX |
Ultimately, choosing the right import method saves you from hours of headaches down the line.
For businesses looking to really optimize their financial workflows, exploring the world of finance and accounting outsourcing can be a game-changer, freeing you up to focus on growth. In this guide, we'll walk through the nitty-gritty of preparing your files and getting them imported without a hitch, so you can build a reliable system for your company.
Prepping Your Files for a Flawless QuickBooks Import
A successful data upload all comes down to what you do before you even open QuickBooks. Think of it like prepping your ingredients before cooking. A little effort at the start saves you from a massive headache later. Honestly, skipping this prep work is the single biggest reason people get frustrated trying to import their bank data.
Our goal is to get your transaction file, which is usually a CSV, into a structure that QuickBooks can read without any hiccups. When the columns are clean and the data is consistent, the import itself is surprisingly fast and easy. If you don't do this, you'll be staring at error messages and wasting hours fixing transactions one by one.
Aligning Your CSV with QuickBooks Requirements
QuickBooks can be pretty picky about the format it accepts. To make this go smoothly, your CSV file needs columns that match what the software is looking for. While you can sometimes map your own column names during the import, sticking to a standard structure from the get-go is always the best approach.
Here’s a simple, proven template for organizing your columns:
- Date: A single, dedicated column for the transaction date is a must-have.
- Description or Payee: This is where you'll put the name of the vendor or customer.
- Amount: You can use a single column here. Just be sure to use positive numbers for deposits and negative numbers for withdrawals.
A lot of people find it easier to manage money-in and money-out separately. If that's you, this two-column format works great:
- Credit: For all money coming into the account (like deposits or sales).
- Debit: For all money going out of the account (like payments or withdrawals).
My Two Cents: Don't overcomplicate your file. Stick to these core columns. I’ve seen people try to import extra data like a "Running Balance" or "Check Number," and it almost always causes mapping errors. Simplicity is your best friend here.
Cleaning Up Common Data Problems
Once your columns are set up, it's time to play detective and hunt for common data issues that can derail the import. This is where most errors actually come from.
Date formatting is a frequent culprit. QuickBooks really, really prefers the MM/DD/YYYY format. If your bank statement gives you something different, like DD-MM-YYYY or a text-based date like "Jan 15, 2024," you have to change it first.
Another classic problem is a messy payee or description column. You'll want to clean this up by getting rid of any extra junk text that banks sometimes add, like store numbers or random transaction IDs. For example, a transaction listed as "STARBUCKS STORE #12345" should just become "Starbucks." Keeping your payee names consistent makes categorizing them inside QuickBooks a breeze.
After you've tidied up your spreadsheet, the final step is to save it in the right format. For a simple guide on this crucial last step, check out our walkthrough on saving Excel as a CSV.
Getting Your CSV File into QuickBooks Manually
Alright, you’ve done the hard part. Your CSV file is clean, formatted, and ready to go. Now, it's time to actually get that data into QuickBooks. This final step is all about telling QuickBooks how to read the file you so carefully prepared, ensuring everything lands in the right place.
Your starting point is the Banking section in QuickBooks Online. Find the option to upload transactions from a file—this is your gateway for any manual import, whether it's a CSV, QBO, or another file type. A CSV is often the go-to, especially if your bank doesn't offer direct QuickBooks downloads. Of course, if you're starting with PDF statements, you'll first need a reliable way to convert them from PDF to CSV before you can even get to this stage.
This infographic breaks down that crucial prep work, from formatting your sheet to splitting out columns.

Think of the Format, Clean, and Split stages as your pre-flight check. Getting them right prevents a world of headaches later on.
Matching Your Data to QuickBooks Fields
Once you've selected your file for upload, you'll hit the most critical part of the process: mapping your columns. This is where you play matchmaker, telling QuickBooks which column from your spreadsheet corresponds to its own fields like Date, Description, and Amount.
Take a look at the mapping screen below. You'll see dropdown menus next to each QuickBooks field, which you'll use to select the correct column header from your file.
Don't rush this part. I've seen it happen dozens of times: someone accidentally swaps the Credit and Debit columns, and suddenly their books are a complete mess. It’s an easy mistake to make but a frustrating one to fix.
Here’s a typical mapping setup:
- QuickBooks Field:
Date-> Your CSV Column:Transaction Date - QuickBooks Field:
Description-> Your CSV Column:Payee - QuickBooks Field:
Money spent-> Your CSV Column:Debit - QuickBooks Field:
Money received-> Your CSV Column:Credit
Here's a pro-tip from experience: Always, always double-check that QuickBooks has recognized your date format correctly (e.g., MM/DD/YYYY vs. DD/MM/YYYY). A mismatch here is one of the most common reasons for an import to fail. Confirm it on this screen before you click next.
The Final Review and Confirmation
After you’ve mapped everything and moved to the next step, QuickBooks will process your file. The transactions won't go straight into your register, though. They’ll land in the For Review tab, which acts as a holding area. This is your last chance to catch any errors before they become a permanent part of your financial records.
From this screen, you can assign each transaction to the right category, add payees, and match them to existing records like open invoices or bills. I always recommend spot-checking a few transactions—make sure the amounts, dates, and descriptions look right. Once you're confident that the data is accurate, you can start categorizing and adding everything to your books, completing the import process and keeping your financials pristine.
Closing the Gaps: How to Import Historical Bank Data
So you've connected your bank account to QuickBooks. Great! But you might notice something's missing. Automatic bank feeds are fantastic for day-to-day transactions, but they have one major limitation: they rarely pull in your full financial history.
Most banks only allow QuickBooks Online to import the last 90 days to 6 months of transactions. This leaves a pretty big gap for anyone trying to get their books in order for tax time or just starting out. It's a common stumbling block—in fact, about 35% of new QBO users find themselves needing to import transactions older than six months. For many, that can mean wrangling anywhere from 1,200 to 1,800 historical transactions.
If you've hit this wall, you're not alone. You can dig into Intuit's own explanation on why bank feeds have a time limit, but the bottom line is you'll need a manual workaround.
Taming Large Datasets
When you're looking at a year or more of financial history, you could easily be dealing with thousands of transactions. My advice? Don't try to upload it all in one massive file. That's just asking for system timeouts and cryptic error messages.
The smarter approach is to break it down. Split your historical data into smaller, more digestible files. I usually recommend doing it by quarter or by year. For instance, create one file for all of 2022 and a separate one for 2023.
This method just works better for a few reasons:
- Fewer Errors: Smaller files are much less likely to crash or overwhelm the import tool.
- Easier Troubleshooting: If something goes wrong, it’s a lot simpler to find the problem in a file with 300 lines than one with 3,000.
- Logical Checkpoints: You can import and reconcile one period at a time, making sure everything is perfect before moving on.
Think of it as a series of small, manageable steps instead of one giant leap. Breaking up your data isn't just a helpful tip; it's one of the core best practices for data migration that will save you a world of frustration.
Taking on a big data import project is also the perfect time to review your overall QuickBooks setup. If your business has multiple users or needs remote access, it might be worth exploring options like setting up QuickBooks in a cloud environment. Getting your foundation right from the start will prevent a lot of performance headaches down the road.
Solving Common QuickBooks Import Errors
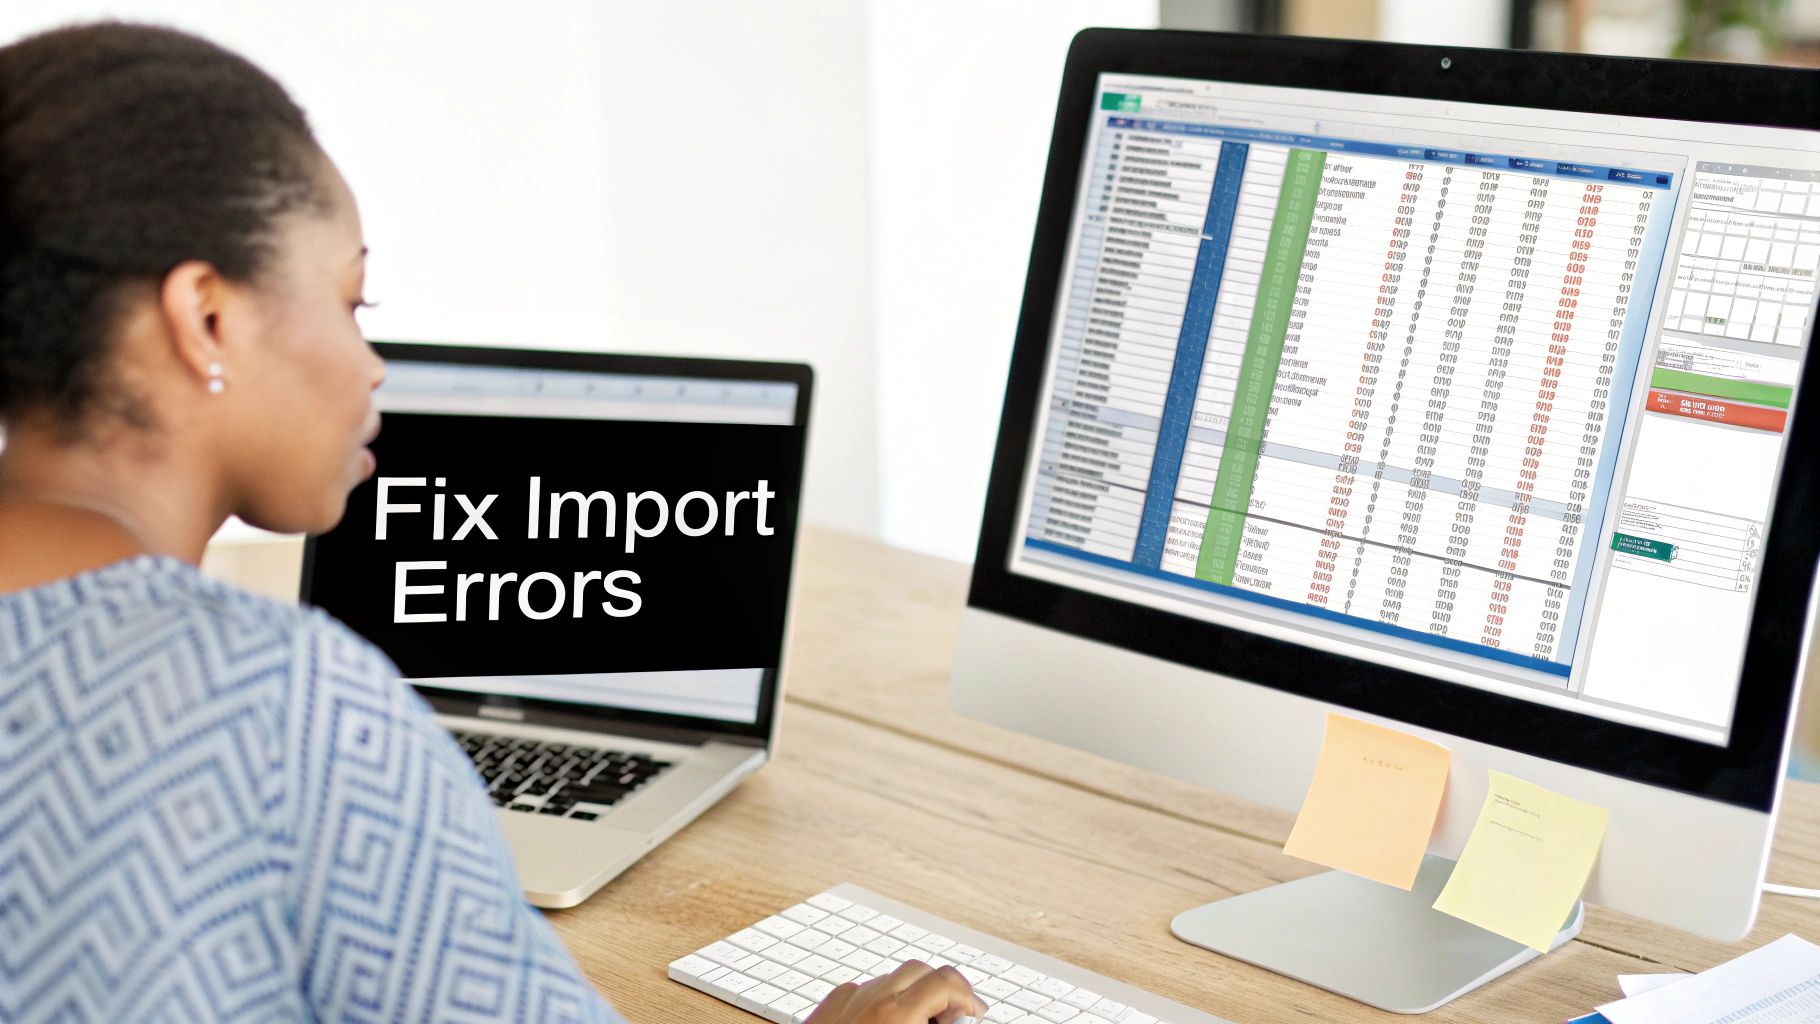
Even after you've prepped everything perfectly, import errors can still pop up. It happens to everyone. The trick is knowing how to diagnose the problem quickly so you can get back to business without losing your whole afternoon. Most of these issues are minor and just take a few minutes to fix once you know what to look for.
The most common culprit is usually a simple file format mismatch. If you get an error message like "File format not supported," it’s a tell-tale sign you've likely saved your file as an XLS or XLSX instead of a CSV. Just open the spreadsheet again, choose "Save As," and select CSV (Comma Delimited) from the dropdown. That one little change usually does the trick.
Another headache I see all the time is duplicate transactions. This typically happens when you manually import a statement for a date range that your live bank feed has already pulled in. Before you click "import," it's always a good idea to quickly scan your file and delete any transactions that are already sitting in your QuickBooks register.
Troubleshooting Specific Import Failures
Sometimes the problem is a bit more subtle than the file type. Mismatched column headers are a classic example. If you get to the mapping stage and QuickBooks can't figure out your columns, it's often because the headers aren't in the very first row. Make sure titles like Date, Description, and Amount are right at the top, with no blank rows or extra titles above them.
You might also run into snags with how your numbers and dates are formatted. A few things to check for:
- Incorrect Negatives: All your expenses and withdrawals should either have a minus sign in front (like -50.00) or be in their own separate
Debitcolumn. - Mismatched Dates: QuickBooks is particular about date formats. Your best bet is to ensure every date in your file consistently follows the MM/DD/YYYY format.
Remember that small details matter. An extra space after a payee's name or a single typo can throw off the entire import. Keeping your data clean and consistent is your best defense against these frustrating errors.
With over 1.8 billion transactions imported globally, this is clearly a critical function for businesses everywhere. While about 73% of those come from direct bank connections, the remaining 27% from manual uploads can be tricky. The average error rate is a pretty low 1.2%, but when it’s your file that’s failing, it’s a big deal. Knowing these common fixes helps you beat the odds and get your data in smoothly. You can learn more about how QuickBooks is refining its import processes to make this even easier for users.
Common Questions About QuickBooks Imports
When you're trying to get your bank transactions into QuickBooks, a few common questions always seem to pop up. Getting these sorted out ahead of time can be the difference between a smooth import and a major headache.
What's the Difference Between QBO, QFX, and CSV Files?
Think of QBO (QuickBooks Online) and QFX (Quicken) files as the "native language" for Intuit products. Since they're designed specifically for this software, QuickBooks understands them perfectly. This means a much cleaner, faster import process with less manual work.
A CSV (Comma Separated Values) file, however, is more of a universal translator. It's a simple spreadsheet format that almost any program can open. The catch? You have to manually map your columns—telling QuickBooks which column is the date, which is the description, and so on. If your bank gives you the option, grabbing the QBO file is almost always the path of least resistance.
Can I Import Transactions from Multiple Bank Accounts?
Yes, absolutely. This is a standard part of bookkeeping. The trick is to make sure you've already set up each separate bank and credit card account in your QuickBooks Chart of Accounts before you start importing.
During the import process, QuickBooks will ask you which account the file belongs to. Pay close attention here. You need to match the statement file to the correct QuickBooks account to keep your books clean and accurate.
One of the easiest mistakes to make is importing a file into the wrong account. Always take a second to pause and double-check your selection on that import screen. It’s a tiny step that can save you from a huge cleanup job down the road.
How Do I Undo a Bad Import in QuickBooks?
It happens. Maybe you imported a file with duplicate transactions or realized the data was formatted incorrectly. Thankfully, you can reverse it.
Head over to the Banking tab and click on the account with the messed-up data. Just check the boxes next to all the transactions you want to get rid of.
From there, click the Batch actions button and select Exclude Selected. This moves them out of your review queue so they never get officially recorded. If you already approved them and they're in your register, you'll have to go into that account's register and delete them one by one.
At Bank Statement Convert PDF, we specialize in turning tricky PDF bank statements into clean, spreadsheet formats that are ready for import. Our software gets your data perfectly formatted to save you time and eliminate those frustrating import errors. Check us out at https://bankstatementconvertpdf.com.